
Introduction
Sewing beaver trapper hats was how I got started into fur sewing. My current project is a Lynx hat. I have tried to chronicle the hat making so others get an idea how to make their own Alaskan Trapper hat. My first hat took me 3 days to complete (I stopped counting hours after 20). As you get faster at sewing by hand this time is drastically reduced. I think the lynx hat will come in at 10 hours or less.
Supplies
1 Medium tanned beaver
Deerskin/Moose/Cowhide -theleatherguy.org has great prices
Sinew (Artificial)
1/2 yard fleece or wool (I probably only use 1/4 yard)
Glover’s needles (size 006)
Thimble
Razor blades
Scissors
Sharpies
Lots of clips
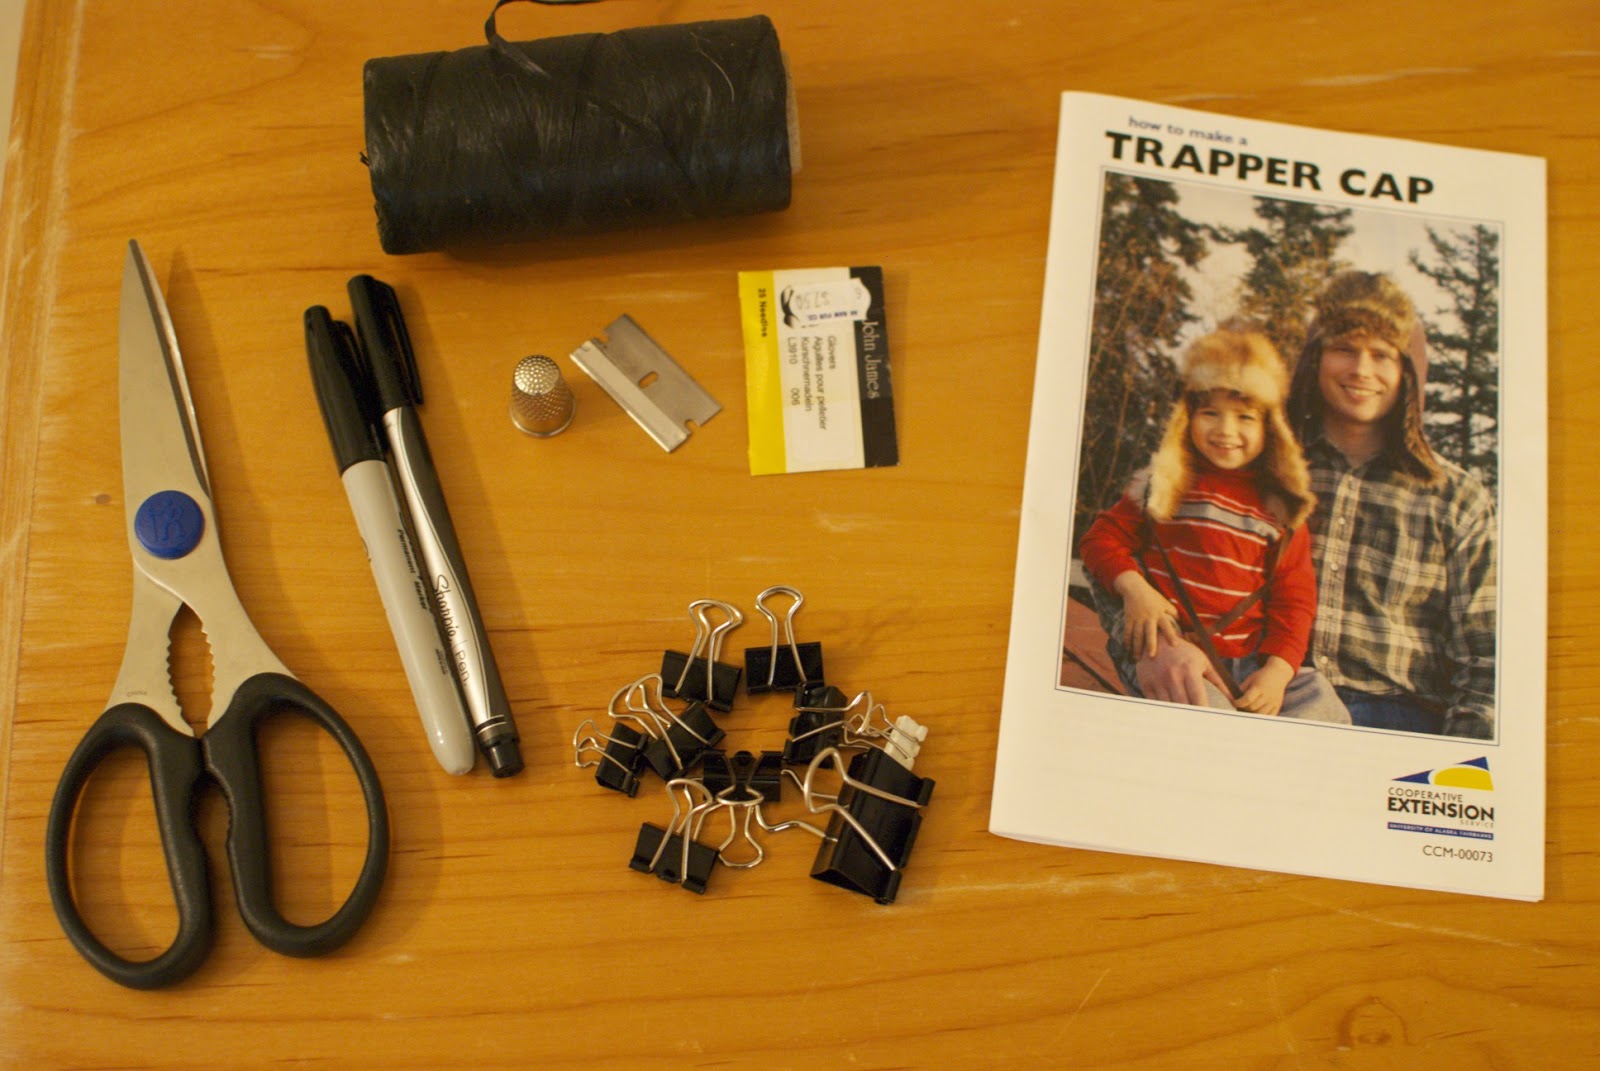
Pattern:
The Alaska Cooperative Extension has a pattern for $5 with a booklet. Edna Wilder’s book also has a pattern.
I start with the fleece liner. I used Windpro fleece. I always like to double the liner so the hat is super warm. Sewing machine was out of reach, so the fleece had to be hand sewn, which doesn’t take too long, but longer than using a machine!

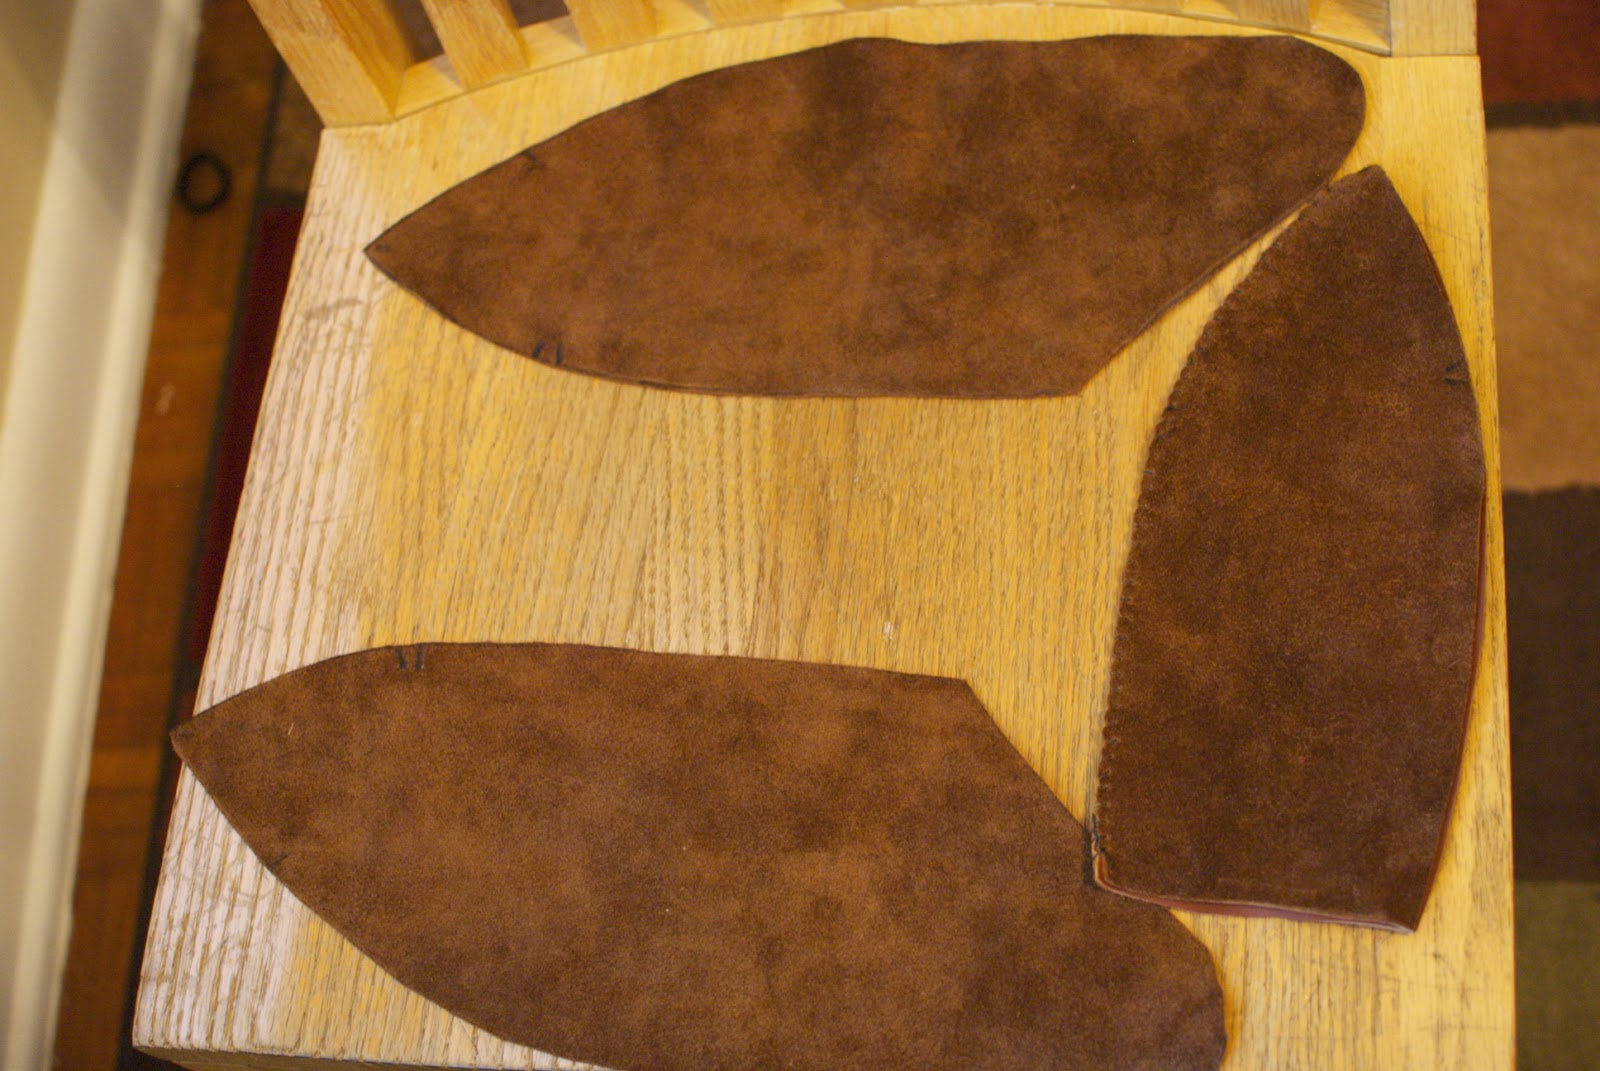
I label my pieces so I don’t confuse them. I include the hatches (1/2/3) so I piece them together correctly. I did a double layer for this hat so I sewed them all at once.


Next I move onto the leather. I use elk or cowhide simply because it’s nice and not as expensive as moose. The Leather Guy has great prices and a good selection. He also ships USPS to Alaska so you don’t get gouged on shipping.
Cut the two ear flap pieces and two back pieces (shown folded over)
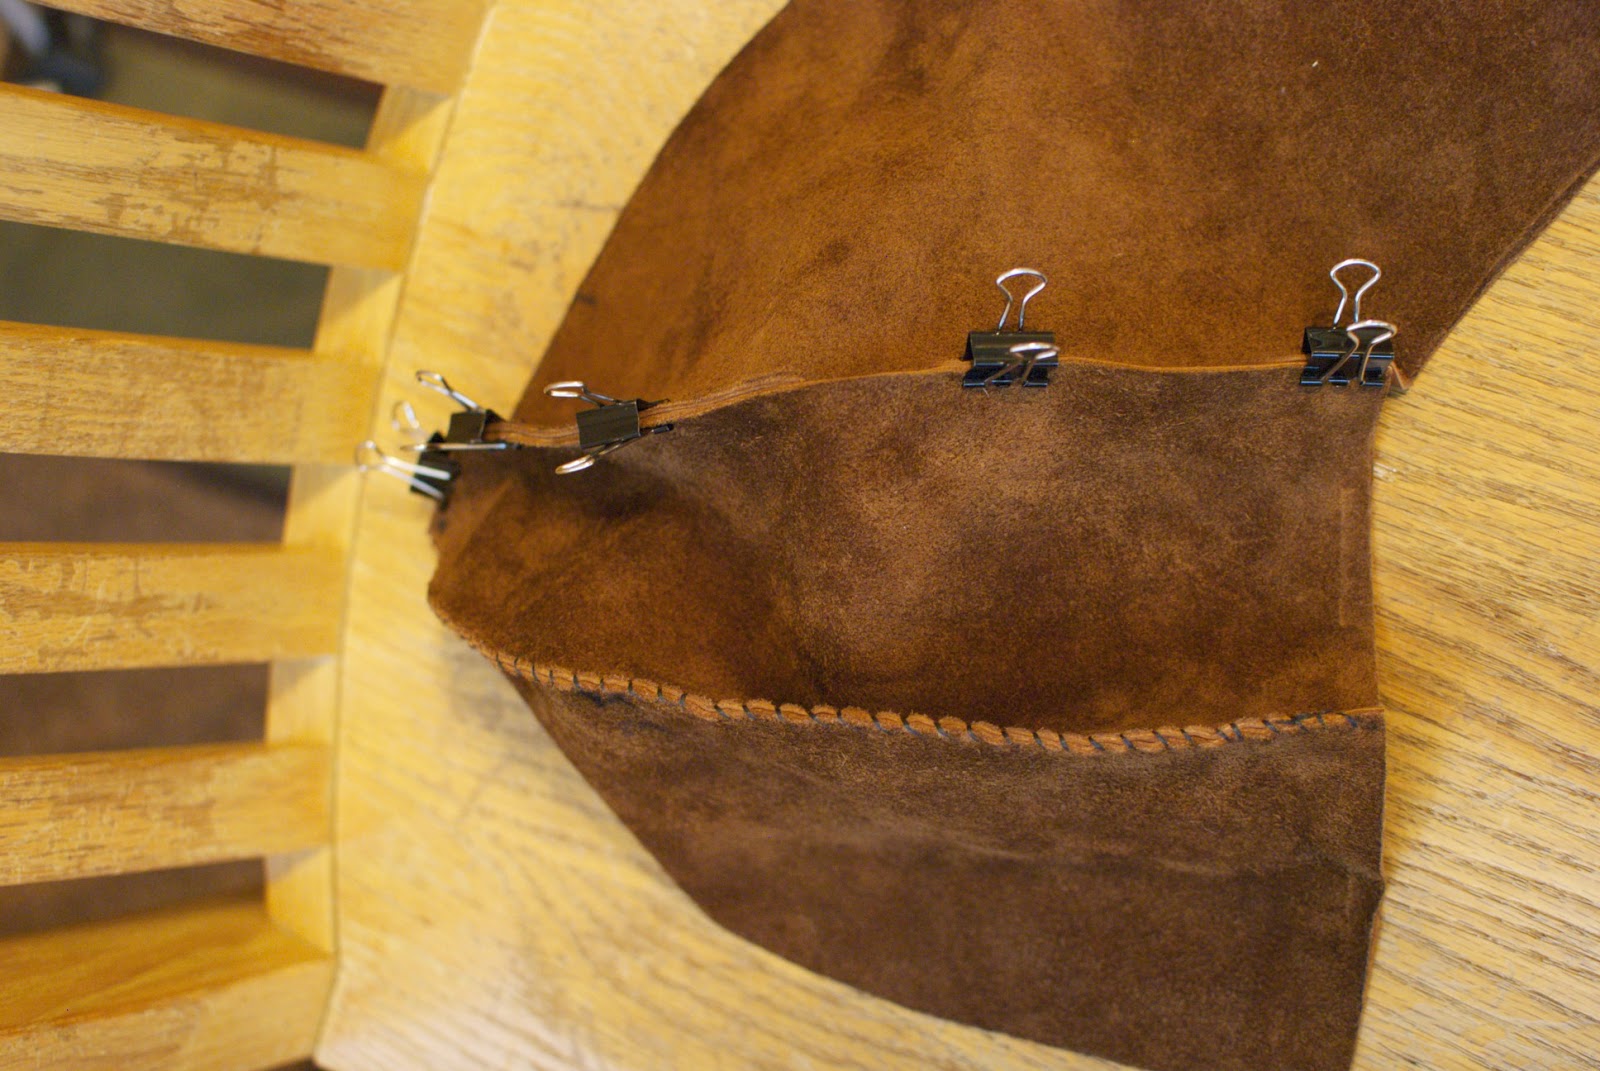
I start with sewing the back pieces together. I sew from bottom to top. Make sure everything is line up so the hat top looks ok.

Here is the back piece complete.

Next sew the ear flaps to the back pieces. Make sure they are oriented the right way. Clip together and sew again from bottom to top.


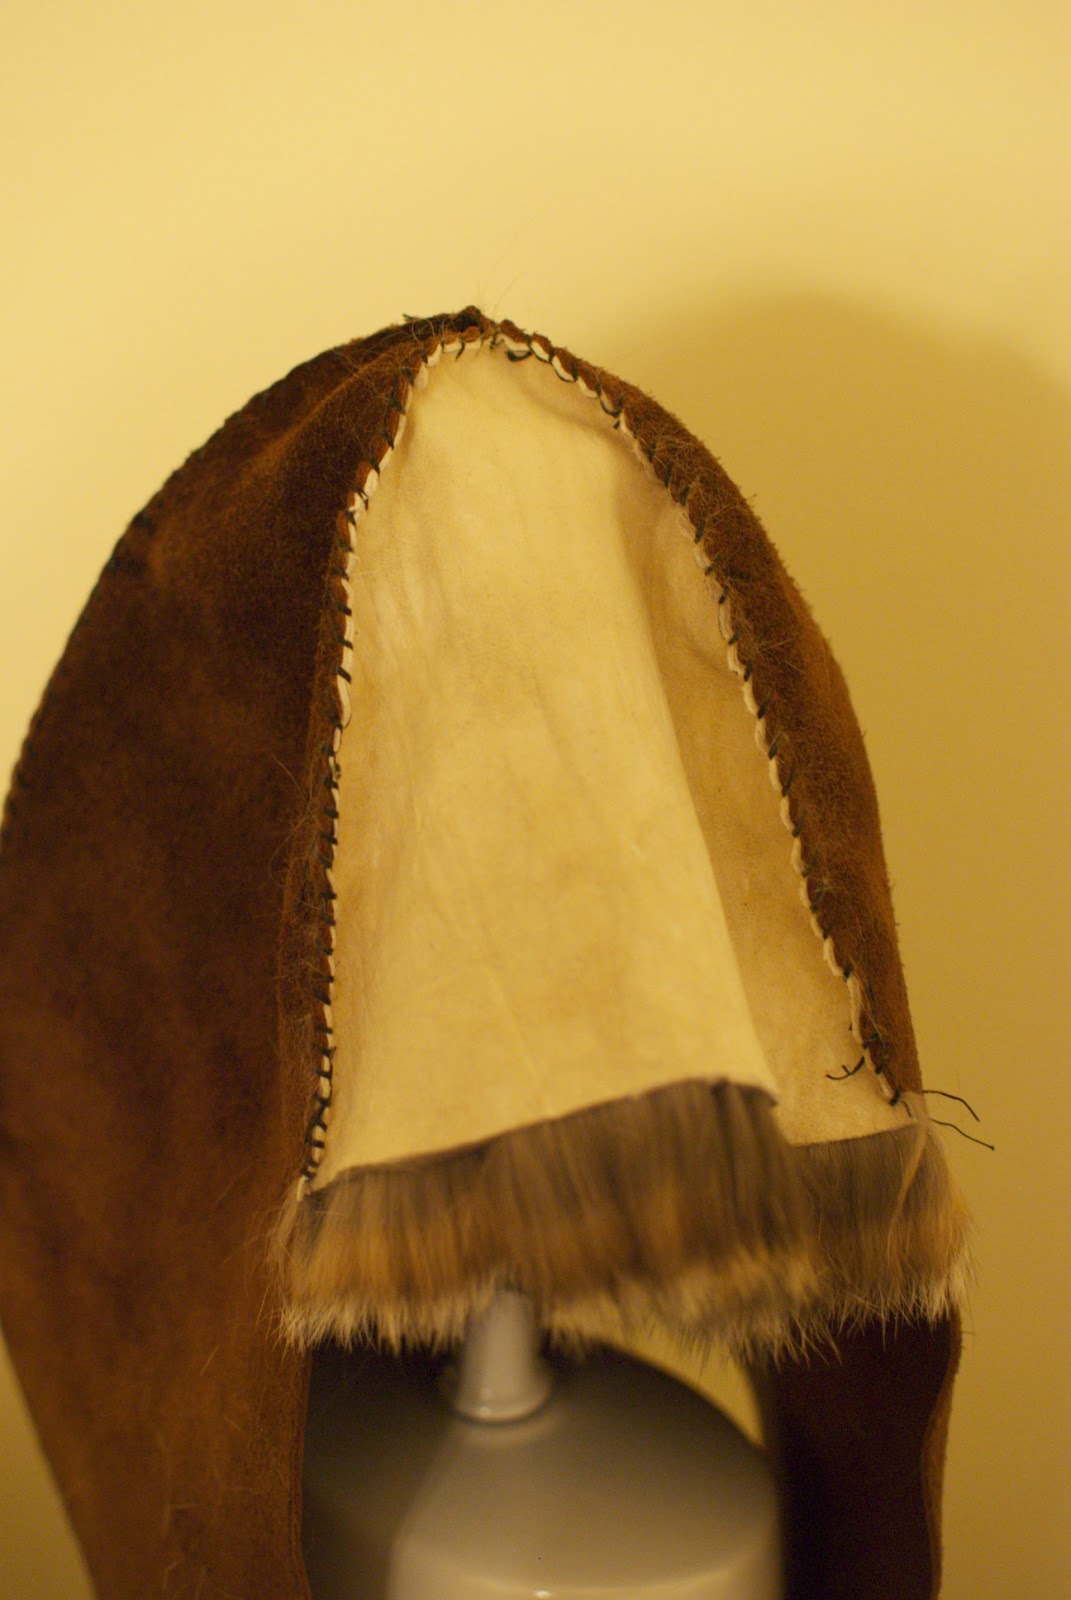
Next cut out the fur. I used lynx for this hat. When I sew beaver, the ear flap piece (labeled 2) is one piece. With the lynx I had to patch this piece together. Make sure the fur flow and coloring matches. You need to cut out two fur ear flaps and one head piece. Pick a head piece that will be the focal point of the hat!


Now sew piece to the leather. You can also forgo the leather and do all fur. I didn’t have enough lynx, but an all beaver hat would be nice and warm! The leather hat with double insulated fleece is still very warm. I can’t wear it above 0F because it gets too hot while working.

Make sure the top lines up nicely together.

Now sew the fleece to the ear flaps. Sew wrong sides together.

Complete shell of the hat.

Sew leather strings or laces to shell.
Once the shell and liner are complete, clip right sides together.
Make sure everything is aligned. Start with the front of the hat. I make sure everything is clipped together and precisely how I want it. Don’t forget to put the laces so they are hanging on the “right” side of the hat.

Leave a gap in the back of the hat. Since you sew the right sides together, now you need to pull the right side out! Once you do this, stitch up the back. Completed Hat!

The only thing left are the lynx pom poms.
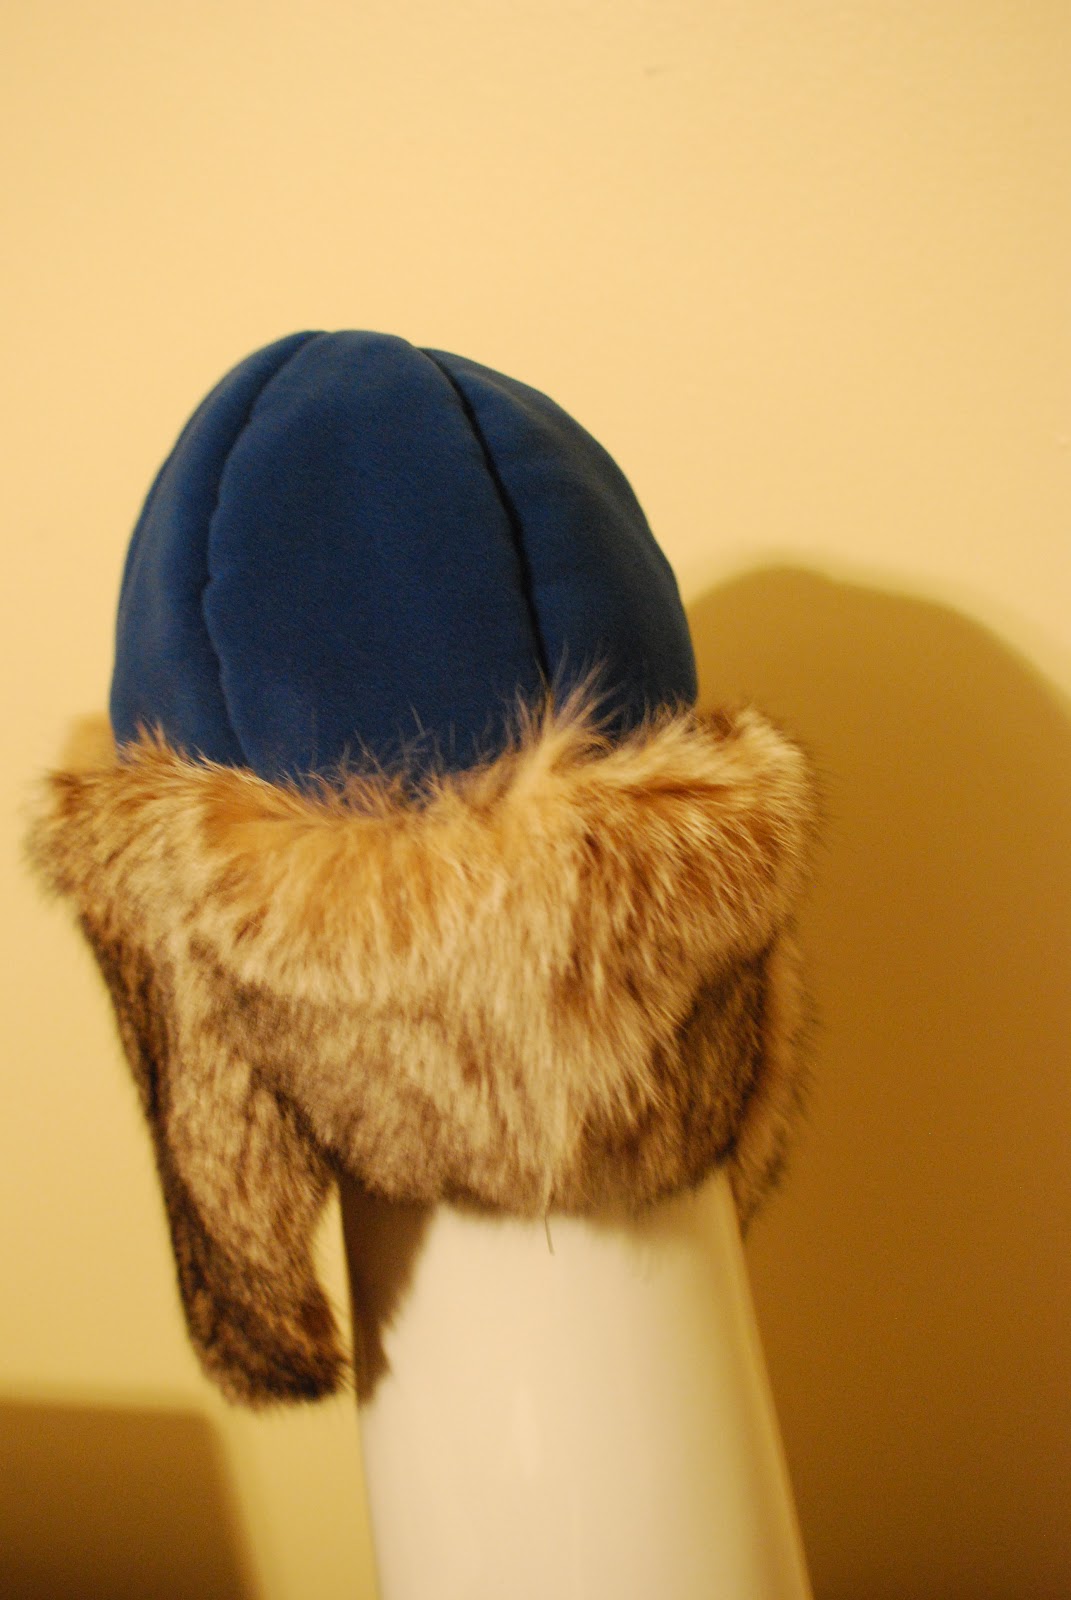
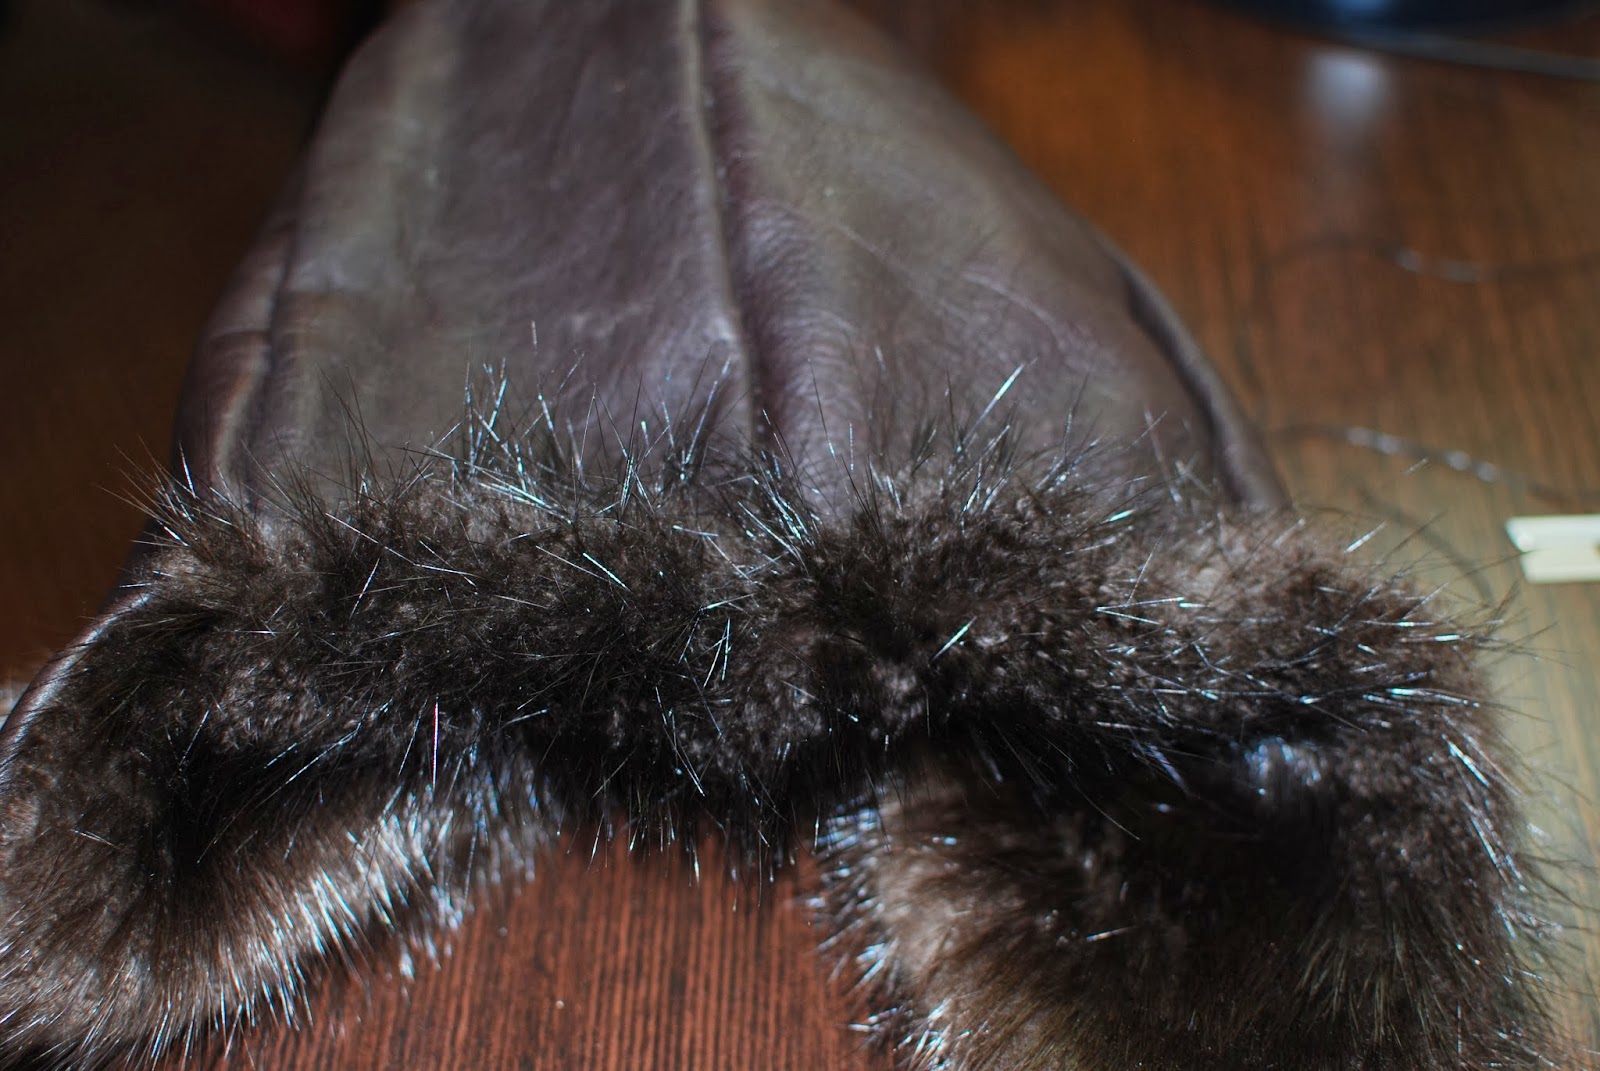
Here are some other hats I made:


I couldn’t find the pattern for sale. I did however purchase the book but the pattern wasn’t so good. Do you know where else I could find the same patter you have?
LikeLike
Adolf – sorry for the slow response. The UAF Cooperative Extension Service has them for $10. Really a good pattern.
http://cespubs.uaf.edu/publications/?cat=10
LikeLike